What does it take to install a large mesh banner on the side of a building?
It takes advance planning, proper cabling systems, lift access, and an experienced in-house installation team that understands both graphics and building exteriors.
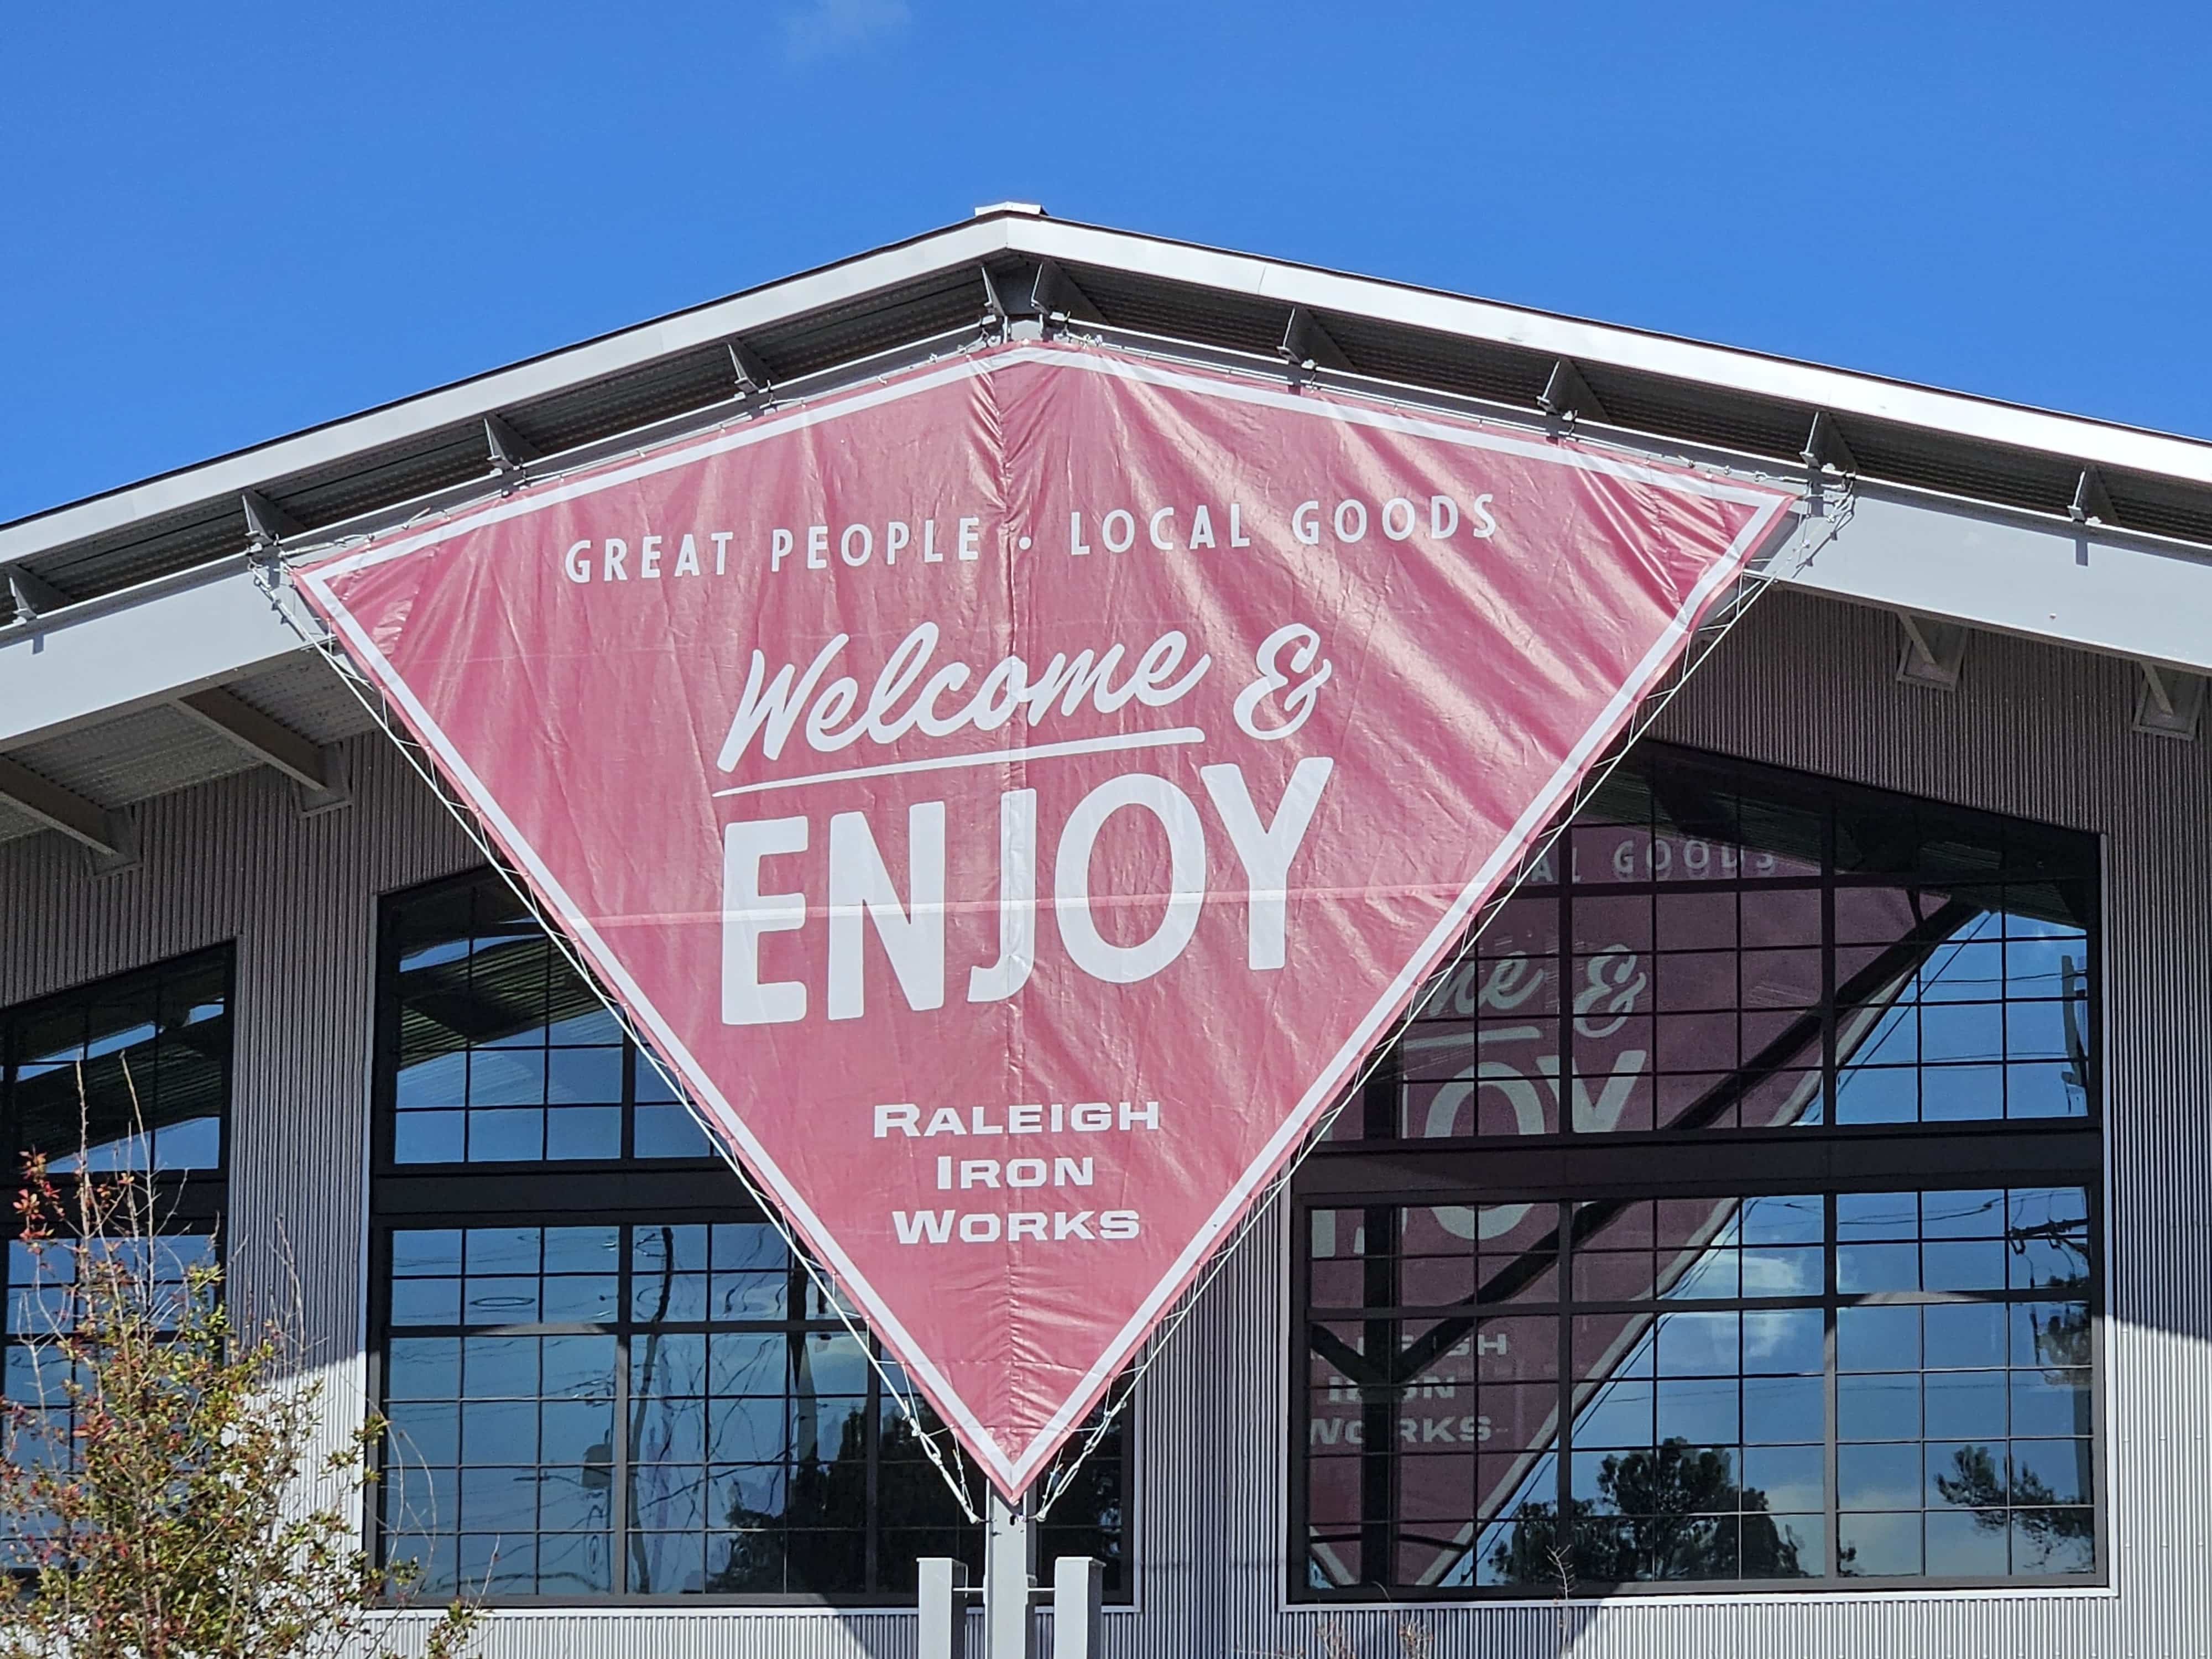
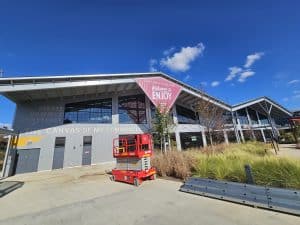
This case study highlights Capital Wraps’ installation of a large-scale mesh banner for a building wrap for Raleigh Iron Works, showing exactly what separates experienced architectural installers from shops that only print graphics.
Project Overview: Raleigh Iron Works Mesh Banner Installation
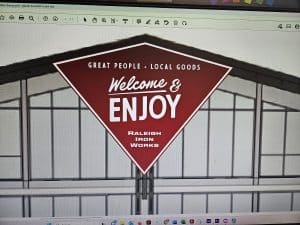
The goal of this project was to install a high-visibility mesh banner on the exterior of the Raleigh Iron Works building—clean, tight, and engineered to perform in outdoor conditions.
This wasn’t a simple “hang and hope” job.
The installation required:
-
Exterior-rated mesh banner material
-
A permanent cabling system
-
Lift access for safe installation
-
Precise tensioning to prevent sagging or wind damage
The finished result—captured on video—shows how quickly and efficiently the banner was installed when the groundwork is done correctly.
Why Mesh Banners Require Specialized Expertise
Large mesh banners are used on commercial buildings because they allow wind to pass through while still delivering bold graphics. But that benefit only works when installation is done correctly.
Key requirements include:
-
Structural planning: Understanding attachment points and load distribution
-
Cabling systems: Installing steel cable infrastructure before the banner ever goes up
-
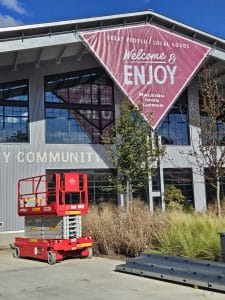
Lift access: Renting and operating lifts safely to reach installation height
-
Tension control: Lacing and tightening opposing sides evenly
Many print shops stop at production.
Capital Wraps handles production and installation, which eliminates guesswork and finger-pointing.
Our Installation Process (Step-by-Step)
1. Cable System Installation
Before the banner was installed, our team mounted the exterior cabling system directly to the building. This step ensures:
-
Even load distribution
-
Long-term durability
-
Clean, professional presentation
Skipping this step is where many banner failures begin.
2. Banner Placement and Clipping
Once the cabling was in place, the mesh banner was clipped in securely. This allows for:
-
Controlled positioning
-
Even alignment across the entire surface
-
Faster final tensioning
The video shows just how efficient this process becomes with an experienced crew.
3. Lacing and Final Tensioning
The final step was lacing the banner tight on opposing sides. This is critical for:
-
Preventing flutter and movement
-
Maintaining crisp visual lines
-
Reducing long-term wear from wind
The result is a banner that looks flat, professional, and purpose-built—not temporary.
Why Capital Wraps Handles This In-House
Many shops either avoid projects like this or outsource installation to third parties. That often leads to:
-
Slower timelines
-
Inconsistent quality
-
Higher risk of failure
-
Blurred accountability
Capital Wraps installs architectural graphics with our own trained teams, whether that means:
-
Traveling for the project
-
Renting and operating lifts
-
Installing cabling systems
-
Coordinating with property managers
This experience translates directly into faster installs and better outcomes.
What This Project Demonstrates
Architectural graphics aren’t just about the banner—they’re about everything behind it.
This Raleigh Iron Works installation shows how preparation, equipment, and expertise come together to create a clean, durable, and high-impact result—installed efficiently and correctly the first time.
Summary: The Transparent Answer
Yes, large mesh banners can be installed quickly and safely—but only when the right systems and experience are in place.
This project demonstrates why Capital Wraps is trusted for architectural graphics that require lift access, exterior cabling, and precision installation. When visibility, safety, and performance matter, experience makes the difference.