By Capital Wraps | 28 Years of Commercial Signage Experience | Raleigh, NC
Picture this. A business has invested in stunning wall murals — a full-color, floor-to-ceiling graphic that transforms a beige conference room into a brand statement. The installation goes smoothly. The reveal moment delivers exactly the reaction the client hoped for. Everyone goes home satisfied.
Six weeks later, a corner is lifting. Then a seam. Then an entire panel peels away from the wall, taking a thin layer of paint with it. The calls begin. The blame begins. And an entirely preventable situation unfolds — one that will cost time, money, and trust to resolve.
In nearly three decades of installing wall murals, Capital Wraps has seen this scenario play out more times than we care to count. And in the overwhelming majority of cases, the root cause was not the graphic. It was not the printer, the ink, or the installer. It was the wall itself — specifically, what was on the wall before we ever arrived.
There are two primary failure modes in commercial wall mural installation. Understanding both of them — what causes them, how to identify the risk, and how to solve them before they become problems — is the difference between a mural that looks spectacular for five years and one that becomes a crisis within a season.
“In nearly every premature mural failure we’ve investigated, the culprit wasn’t the graphic. It was what was on the wall before we arrived.”
Problem One: The Paint That Repels Everything
Walk through a commercial building constructed or renovated in the last decade, and there is a very good chance the walls are painted with a low-VOC or zero-VOC paint. This is not a criticism — the shift toward low-emission interior paints reflects genuine progress in indoor air quality and environmental standards. Many of these paints are excellent products for their intended purpose.
The problem is that their intended purpose is not vinyl adhesion.
Modern low-VOC and zero-VOC paints achieve their performance characteristics partly through the addition of silicone compounds. Silicone is extraordinarily good at keeping surfaces clean — it creates a molecular-level slickness that causes dirt, grease, and liquids to bead and run off rather than adhere. This is why premium paint brands market these products as ‘stain-resistant’ and ‘easy-clean.’ It is a genuine benefit in a kitchen, a hospital corridor, or a school hallway.
But the same property that makes silicone-treated paint resist stains also makes it resist adhesives. The very mechanism that sheds dirt equally sheds the pressure-sensitive adhesive backing of a vinyl or fabric wall mural. The result is a mural that appears to install correctly — sticking to the surface under squeegee pressure — and then gradually, invisibly releases its bond as the adhesive fails to chemically key into the silicone-treated paint surface. Corners lift first. Then seams. Then panels.
The challenge is compounded by the fact that there is no visual indicator of silicone content in paint. A wall painted with a premium silicone-fortified product looks identical to a wall painted with a traditional latex. An installer cannot see the problem. A client cannot see the problem. The failure only becomes visible weeks or months after installation — and by then, the installer, the contractor, and the client are all pointing fingers in different directions.
The Solution: Wall Sealer or Covering Primer
The good news is that this problem has a reliable solution, and it is not complicated. Before installing any adhesive-backed wall mural on a surface with unknown or confirmed low-VOC paint, the wall should be treated with a dedicated wall sealer or wall covering primer.
These products — offered by several manufacturers, including dedicated lines from major sign and graphics suppliers — are designed specifically to create an intermediate bonding layer between problematic paint surfaces and adhesive wall graphics. Applied correctly, the sealer bonds aggressively to the paint surface, including silicone-treated formulations, and provides the adhesive backing of the mural with a surface it can actually grip.
The practical implication for clients is important to understand: adding a wall sealer step to a mural installation project adds time and cost. It is an additional material, an additional application step, and in large installations, a meaningful addition to the overall project budget. But the alternative — a premature mural failure that requires complete reinstallation — is invariably more expensive and more disruptive than the preventive treatment would have been.
The professional standard at Capital Wraps is to assess the paint situation at every mural installation. When there is any uncertainty about the paint formulation, we recommend sealer treatment as a standard precaution. When a client’s timeline or budget creates pressure to skip that step, we document the recommendation and the client’s decision. The cost of prevention is always lower than the cost of failure.
Identifying the Risk Before Installation Begins
The best time to solve a paint adhesion problem is before the mural is ever printed. Here is what experienced installers and project managers should assess during the pre-installation survey:
- Ask the building owner or facilities manager for the specific paint product used. If they can identify it, research the formulation for silicone or stain-resistant additives.
- Perform an adhesion test. Apply a small sample of the intended mural material to an inconspicuous area of the wall — ideally several weeks before the scheduled installation. If the sample lifts easily at any corner within 48 hours, the paint surface requires treatment.
- Note the paint sheen. Matte and flat finishes are more likely to contain chalky binders that undermine adhesion. Satin and semi-gloss finishes typically perform better — though silicone additives can be present at any sheen level.
- Assess the age of the paint. Paint continues to off-gas and cure for weeks after application. Vinyl murals installed on paint applied within the last two weeks are at significantly elevated risk of adhesion failure, regardless of paint formulation.
Problem Two: The Primer That Holds Nothing
The second failure mode is subtler than the first, harder to diagnose, and in some ways more frustrating — because it can occur even on walls where the paint itself is perfectly good.
Here is how it works. In commercial construction and renovation, walls are typically primed before painting. The primer is supposed to do two things: seal the drywall or underlying surface, and provide a bonding layer for the topcoat paint. When it works correctly, the result is a wall system where the drywall, the primer, and the paint are all bonded together as a single integrated surface.
But primers fail. They fail when applied over dusty or contaminated drywall. They fail when the wrong primer product is selected for the surface. They fail when application conditions are incorrect — temperature, humidity, surface moisture. And when a primer fails, it doesn’t fail in a way that’s immediately visible. The wall looks fine. The paint looks fine. Everything looks fine — until an adhesive wall mural is applied, and the installation process creates lateral stress across the surface.
What happens in these cases is instructive: the mural adhesive bonds successfully to the paint, and the paint bonds successfully to the primer — but the primer has not bonded to the underlying wall. The primer is, in effect, holding onto itself and nothing else. Under the tensile force of an adhesive mural pulling slightly as it settles, the entire paint-and-primer system releases from the wall. The installer removes the mural and discovers not a damaged wall, but a wall where the paint and primer peel away as a single continuous sheet, leaving bare drywall or mud beneath.
There is a simple diagnostic test for this condition: find a small, inconspicuous spot on the wall — a corner near the baseboard, or behind a door. Press a small piece of strong tape firmly to the surface and pull it cleanly away. If paint comes with the tape, releasing from the surface in a thin film, the primer has not bonded adequately to the substrate. The wall has a delamination problem.
“The tape test takes thirty seconds. Finding it after a mural fails takes weeks of argument and thousands of dollars.”

The Solution: Penetrating Primer and Surface Preparation
This problem is solvable, but it requires more intervention than the silicone paint issue. The wall covering industry has developed a specific category of penetrating primers designed precisely for this situation. These products work by getting behind the existing paint and primer system — penetrating the interface between the failed primer and the underlying surface — and creating a new chemical bond that locks the entire layer system to the wall.
The process requires a preparatory step before the penetrating primer can be applied: the existing paint surface must be lightly sanded. This is not a full surface refinish — it is a light abrasion designed to break up the smooth surface of the paint, creating micro-channels through which the penetrating primer can travel. Once those channels exist, the primer saturates the paint-primer interface and cures into a stabilizing system that holds everything in place.
This is an effective solution in the majority of cases. It is also a time-consuming and labor-intensive one. Lightly sanding a large commercial wall, applying a penetrating primer, allowing it to cure, and then proceeding with the mural installation adds a meaningful amount of time to the project schedule — often one to two additional days on a large installation. And it adds cost: materials, labor, and in some cases the need to reschedule the installation crew and any tradespeople working in the same space.
The honest conversation with clients is this: if a pre-installation survey reveals a primer delamination problem, fixing it before the mural goes up is not optional — it is mandatory. A mural installed over a failed primer system will fail. Not might fail. Will fail. And the reinstallation, the remediation, and the wall repair that follows a failure will cost significantly more than the preventive treatment would have.
The Pre-Installation Survey: Your Most Important Tool
The pattern across both failure modes points to the same conclusion: the professional practice that prevents the most costly problems in commercial wall mural installation is the pre-installation survey. Before a design is finalized, before material is ordered, before a crew is scheduled — someone needs to look carefully at the wall.
What does a proper pre-installation survey include?
- Visual inspection for surface irregularities, previous graphic removal damage, moisture staining, or wall damage that will telegraph through the mural material.
- Paint specification research — identifying the specific product used, its formulation, and its known adhesion characteristics.
- Adhesion test with a sample of the intended material on the actual wall surface.
- Tape test for primer delamination in multiple locations across the wall.
- Assessment of environmental conditions — HVAC cycles, humidity levels, and temperature variation — that will affect the mural during and after installation.
- Documentation of all findings and a clear written recommendation to the client about any preparatory work required before installation can proceed.
That last point matters more than it might appear. When a client declines a recommended preparatory step due to cost or schedule pressure, the installer who documented the recommendation is in a very different position than the installer who didn’t. Professional practice protects both the client and the contractor.
Key Takeaways from Part 2
- The two most common causes of premature wall mural failure are silicone-fortified paints that resist adhesion, and primer systems that have not properly bonded to the underlying wall.
- Silicone-treated paint — common in modern low-VOC and zero-VOC formulations — actively repels the pressure-sensitive adhesives used in vinyl and fabric wall murals.
- The solution for paint adhesion failure is a dedicated wall sealer or covering primer applied before mural installation. It adds cost and time — but far less than reinstallation.
- Primer delamination is diagnosable with a simple tape test before any material is ordered or installed.
- Penetrating primer, applied after light sanding, is the standard remediation for delamination conditions.
- The pre-installation survey is the most important tool in wall mural project management. Every dollar spent on proper assessment prevents multiple dollars in remediation.
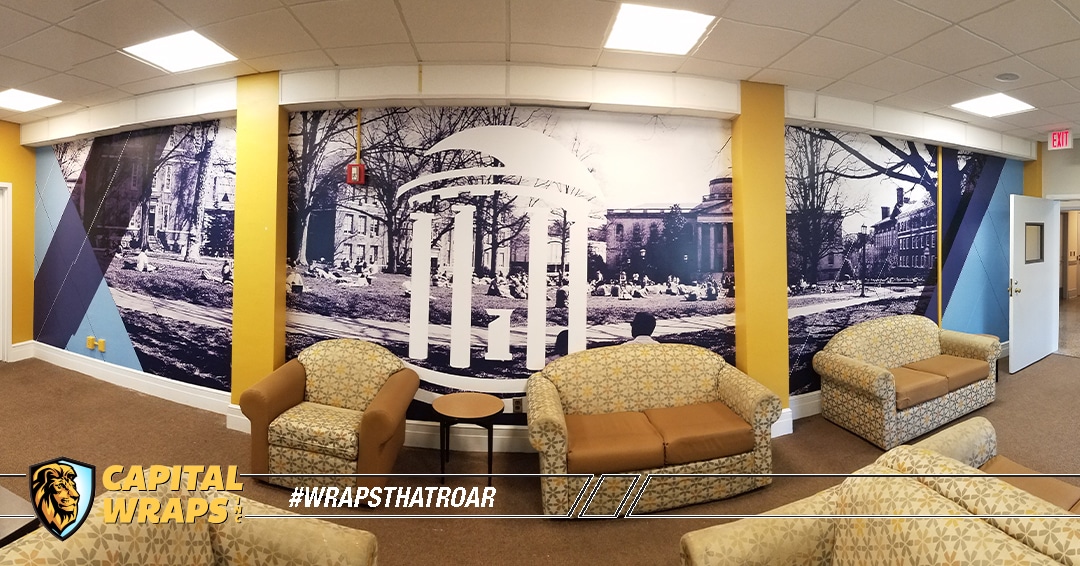
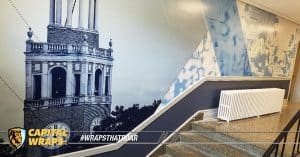
Part 3: Three Universities, Three Solutions — Capital Wraps’ Case Studies in Campus Identity
Capital Wraps has been installing commercial signage and wall murals in the Raleigh area and across the Southeast for 28 years. For a consultation on your next wall mural project, contact us at capitalwraps.com.